Javascript - xlsx-js-style 를 이용한 table 요소로 엑셀 파일 다운로드 시키기
- 1. xlsx-js-style 에서 “xlsx.bundle.js” 파일 import
- 2. “xlsx.extendscript.js” 파일 import
- 3. 해당 페이지에 import
- 4. 소스 작업
참고 : https://programmer.help/blogs/export-excel-using-js-xlsx-pure-front-end.html
1. xlsx-js-style 에서 “xlsx.bundle.js” 파일 import
https://github.com/gitbrent/xlsx-js-style
dist 폴더 내에서 해당 파일을 가져온다.
2. “xlsx.extendscript.js” 파일 import
https://www.cdnpkg.com/xlsx/file/xlsx.extendscript.js/?id=78603
해당 파일은 XLSX 모듈을 확장하여 사용 가능하게 해준다.
3. 해당 페이지에 import
<script type="text/javascript" src="/content/02comm/js/xlsx.bundle.js"></script>
<script
  type="text/javascript"
  src="/content/02comm/js/xlsx.extendscript.js"
></script>
xlsx-js 를 이용하여 엑셀 파일로 만드는 방식에는 JSON / ARRAY 등 여러 방식이 있으나 여기서는 HTML 요소인 table 태그를 사용하는 방법을 공유하고자 한다.
4. 소스 작업
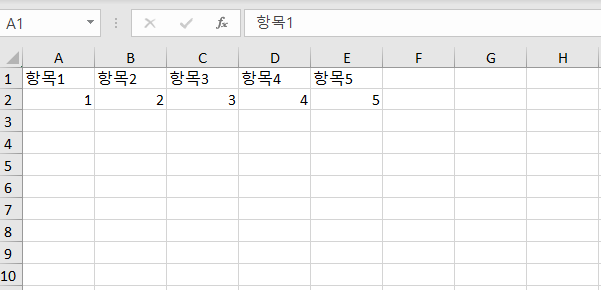
1. 가장 기본적인 테이블 -> 엑셀 생성
- html
<a href="#" class="btn01 col04" title="엑셀 다운로드" onclick="test1();">
	<span>엑셀 다운로드1</span>
</a>
<div class="table_wrap pc_view">
	<table class="table t_list" id="test">
		<thead>
			<tr>
				<th>항목1</th>
				<th>항목2</th>
				<th>항목3</th>
				<th>항목4</th>
				<th>항목5</th>
			</tr>
		</thead>
		<tr>
			<td>1</td>
			<td>2</td>
			<td>3</td>
			<td>4</td>
			<td>5</td>
		</tr>
		<tbody>
		</tbody>
	</table>
</div>
- js
function test1() {
  // workBook Create
  var wb = XLSX.utils.book_new();
  // workSheet Create
  var ws = XLSX.utils.table_to_sheet(document.getElementById("test"));
  // Sheet Append With Title
  XLSX.utils.book_append_sheet(wb, ws, "sheet title");
  // Create Excel File With File Name
  XLSX.writeFile(wb, "파일명.xlsx");
}
- 결과
2. 테이블에 스타일 추가하기
여기서부터는 함수 내용만 변경됩니다.
- js
function test2() {
  // workBook Create
  var wb = XLSX.utils.book_new();
  // workSheet Create
  var ws = XLSX.utils.table_to_sheet(document.getElementById("test"));
  // for in Cells add style
  for (i in ws) {
    if (typeof ws[i] != "object") continue;
    let cell = XLSX.utils.decode_cell(i);
    // add Style to All Cells
    ws[i].s = {
      font: {
        name: "arial",
      },
      alignment: {
        vertical: "center",
        horizontal: "center",
        wrapText: "1",
      },
      border: {
        right: {
          style: "thin",
          color: "000000",
        },
        left: {
          style: "thin",
          color: "000000",
        },
        top: {
          style: "thin",
          color: "000000",
        },
        bottom: {
          style: "thin",
          color: "000000",
        },
      },
    };
    // Cell format change
    /* if ( cell.c == 0 ) { // first column
				ws[ i ].s.numFmt = "DD/MM/YYYY HH:MM"; // for dates
				ws[ i ].z = "DD/MM/YYYY HH:MM";
			} else {
				ws[ i ].s.numFmt = "00.00"; // other numbers
			} */

    // First row is filled gray bg
    if (cell.r == 0) {
      ws[i].s.fill = {
        patternType: "solid",
        fgColor: {
          rgb: "b2b2b2",
        },
        bgColor: {
          rgb: "b2b2b2",
        },
      };
    }
  }
  // Sheet Append With Title
  XLSX.utils.book_append_sheet(wb, ws, "sheet title");
  // Create Excel File With File Name
  XLSX.writeFile(wb, "파일명.xlsx");
}
- 결과

3. 이 부분에서 xlsx.extendscript.js 를 수정하게 됩니다.
테이블을 시트로 만드는 과정에서 몇가지 커스텀 과정을 진행합니다.
- xlsx.extendscript.js 수정하기
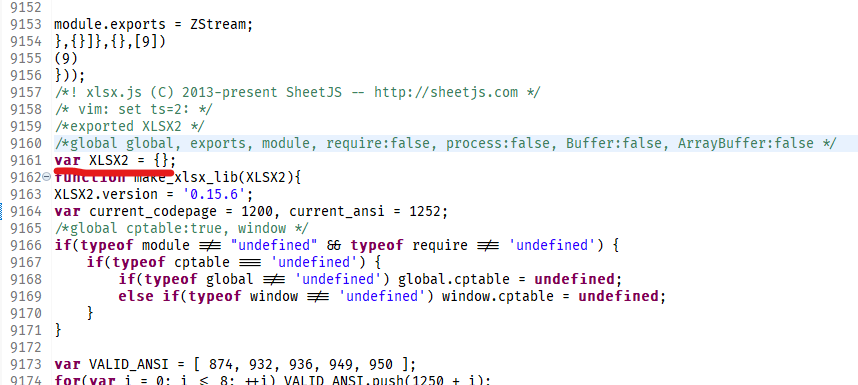
####### 1. XLSX 변수를 기존 변수와 겹치치 않고 사용하기 위해 변수명을 변경
해당 파일 9160 라인 근처에 “var XLSX” 로 선언되는 변수가 있습니다.
해당 변수를 XLSX2 로 변경하고, 이후 나오는 변수들을 전부 XLSX2 로 변경합니다.
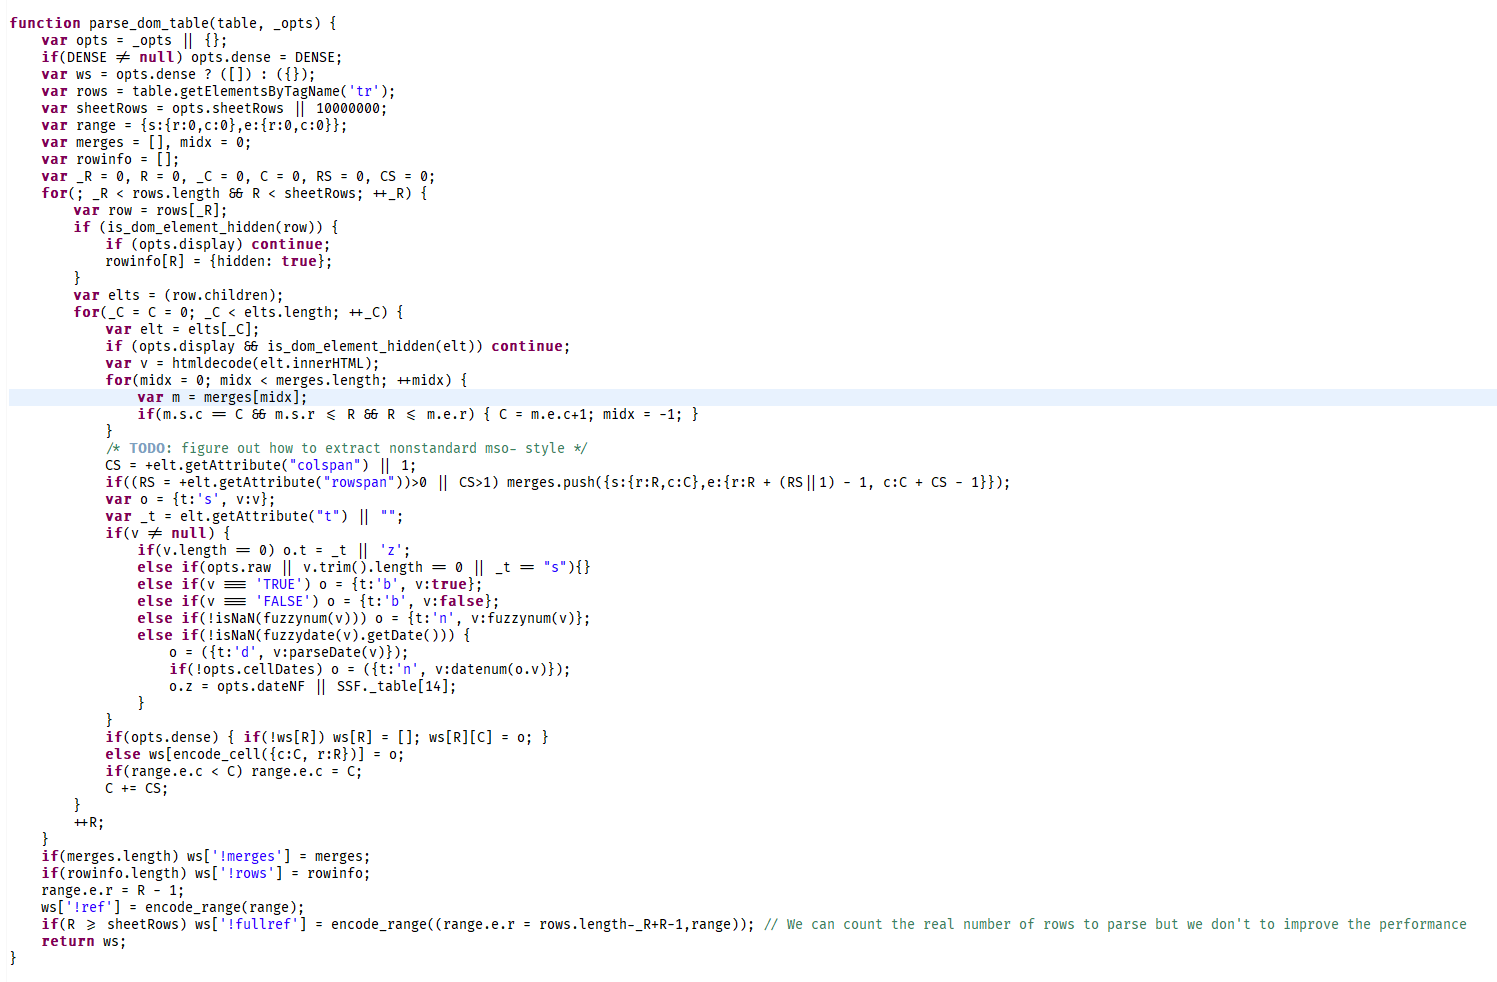
####### 2. parse_dom_table 함수 변경
해당 함수는 테이블을 가져와 파싱하는 부분인데 옵션 파라미터를 받아 처리하기 위해 수정합니다.
해당 옵션에는 rowIndex 와 merge 구문을 추가하기 위함입니다.
- 변경 전
- 변경 후

위 소스 수정 작업을 통해 커스텀화 할 수 있게 되었습니다.
이후, 파싱하는 과정에서 XLSX2 변수를 통해 사용해주면 됩니다.
- js
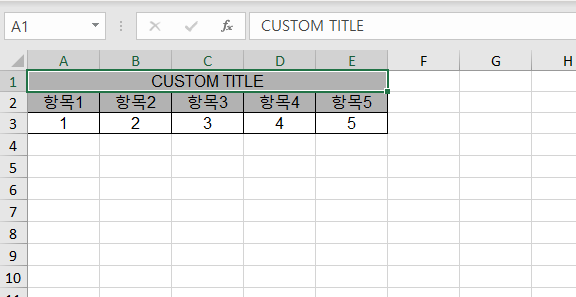
function test3() {
  // Create WorkBook
  var wb = XLSX.utils.book_new();
  // Define Option
  var opt = {
    // new row except table element
    rowIndex: 1,
    // merge option ( if you have to merge new row )
    merges: [
      {
        // start
        s: {
          c: 0, // col
          r: 0, // row
        },
        // end
        e: {
          c: $("#test").find("th").length - 1, // col ( this means : merge as table column counts )
          r: 0, // row
        },
      },
    ],
  };
  // WorkSheet
  var ws = XLSX2.utils.table_to_sheet(document.getElementById("test"), opt);
  // new row --> Title
  ws["A1"] = {
    t: "s",
    v: "CUSTOM TITLE",
  };
  // new row --> style
  ws["A1"].s = {
    font: {
      name: "arial",
      bold: true,
    },
    alignment: {
      vertical: "center",
      horizontal: "center",
      wrapText: "1", // any truthy value here
    },
    border: {
      right: {
        style: "thin",
        color: "000000",
      },
      left: {
        style: "thin",
        color: "000000",
      },
      top: {
        style: "thin",
        color: "000000",
      },
    },
  };
  // cell style
  for (i in ws) {
    if (typeof ws[i] != "object") continue;
    let cell = XLSX.utils.decode_cell(i);
    // cell style
    console.log(cell);
    console.log(i);
    console.log(ws[i]);

    ws[i].s = {
      font: {
        name: "arial",
      },
      alignment: {
        vertical: "center",
        horizontal: "center",
        wrapText: "1",
      },
      border: {
        right: {
          style: "thin",
          color: "000000",
        },
        left: {
          style: "thin",
          color: "000000",
        },
        top: {
          style: "thin",
          color: "000000",
        },
        bottom: {
          style: "thin",
          color: "000000",
        },
      },
    };
    // new row & first row ( table th ) style
    if (cell.r == 0 || cell.r == 1) {
      ws[i].s.fill = {
        patternType: "solid",
        fgColor: {
          rgb: "b2b2b2",
        },
        bgColor: {
          rgb: "b2b2b2",
        },
      };
    }
    // if you merge other rows use this
    /* if ( i == "!merges" ) {
				ws[ "!merges" ].push( {
					s : {
						c : 0 ,
						r : 0
					} ,
					e : {
						c : 0 ,
						r : 0
					}
				} );
			} */
  }
  // Sheet Append With Title
  XLSX.utils.book_append_sheet(wb, ws, "sheet title");
  // Create Excel File With File Name
  XLSX.writeFile(wb, "파일명.xlsx");
}
- 결과
셀 형식 변경이나 기타 다른 옵션도 많으니 더 자세한 부분은 해당 라이브러리 검색하여 추가해보시면서 하면 빠르게 하실 수 있을 것 같습니다 !
이상 입니다. :D